Page Last Updated: March 23, 2025
Create Amazon AWS S3 Bucket🔗
Overview🔗
The Amazon Simple Storage Service, or simply Amazon S3, allows data storage for public distribution, management, and tracking. This has several advantages over using private S3 bucket for data repository storage and sharing, including robust and well-supported utilities for tracking statistics and scalability.
The MIDB Open Data Initiative hosts data on AWS via the Amazon Web Services (AWS) Open Data Sponsorship Program. In summary, the process involves creating a fork of the AWS open-data-registry repository on Github, adding a YAML configuration file for your data repository to datasets/, and submitting a pull request (PR) for Amazon to review. Please review the open-data-registry README and Onboarding Handbook for Data Providers (starting at Step 5: Preparing & uploading data) for details.
How to Create Amazon AWS S3 Bucket🔗
Step 1: Link to MIDB Account🔗
To get started, please contact the Informatics Hub (see details in internal documentation here) to link the impending repository to MIDB.
You should also decide on the short name you would like to use for your repository (e.g. the short name for the Baby Open Brain (BOBs) Repository is bobsrepository). We recommend using the short name consistently when setting up the repository, including the YAML file name, DataLad folder name, etc.
Step 2: Create YAML File🔗
A fork of the open-data-registry repository for registry of open data on AWS exists under the DCAN-Labs GitHub organization here. Select Sync fork to make sure it is up-to-date.
Next add a new YAML file named with the short name of your repository to the /datasets folder (see the template README provided here). We recommend making a copy of the BOBs Repository YAML and updating the fields with information pertaining to the data repository you are submitting. Some additional field recommendations include:
- Leave the attribute values for
ManagedByunchanged - Under
Resources:- Leave
RegionandTypeunchanged - For
ARNandExplore, replace the stringbobsrepositorywith the short name you have chosen to use for your own repository (the bucket and links don’t actually exist yet of course, but that’s ok)
- Leave
- We recommend choosing a license for your repository. This is not required, however, in which case you can just follow the README template example for this field and enter:
There are no restrictions on the use of this data
Finally, rememeber to follow YAML formatting (see quick overview here), including using quotes for string values that include special characters :, {, }, [, ], ,, &, *, #, ?, |, -, <, >, =, !, %, @, \ . Using quotations when they are not necessary will not cause any errors, so feel free to err on the side of caution if unsure. Additionally, formatting errors are caught during continuous integration after submitting your PR, so can easily be fixed at that point.
Note that you are welcome to proceed to Step 3 to submit a pull request before you are finished finalizing the YAML file. Just make sure to keep the PR in draft mode until ready for review.
Step 3: Create Tutorial🔗
Within the YAML file (under DataAtWork > Tutorials), you are required to provide a link to a “tutorial,” which for a data repository can simply be instructions on how to access and download the data. The BOBS Repository YAML currently links to the View or Download the BOBS Repository section of the BOBS Repository Docs page, but for the initial submission for review, we created a simple markdown file on a public GitHub repository that, following the layout of the INDI tutorial, provided a basic explanation of the data format/organization and how to access via Cyberduck.
Step 4: Submit Pull Request🔗
Submit a PR to the central repository and inform the Informatics Hub. Informatics will contact Amazon to link the repository with the MIDB account (Step 4 in the AWS Handbook), create the S3 bucket referenced in the YAML (assuming it is available), and inform Amazon that the necessary steps to merge the PR have been completed. Once merged (this may take a few days), you will be provided with AWS credentials for read/write access to the bucket and you can proceed to upload your data!
AWS Bucket Configuration🔗
The Informatics Hub can will handle the majority of the configurations required to make the bucket publicly available, but there may be additional features you wish to employ that require access to the AWS web console. You can either request Informatics (the "root" user) to make these updates for you or ask that they add you as an IAM user to access the web console directly to make changes. The following are recommended configurations to ensure public accessibility and allow tracking for repository usage:
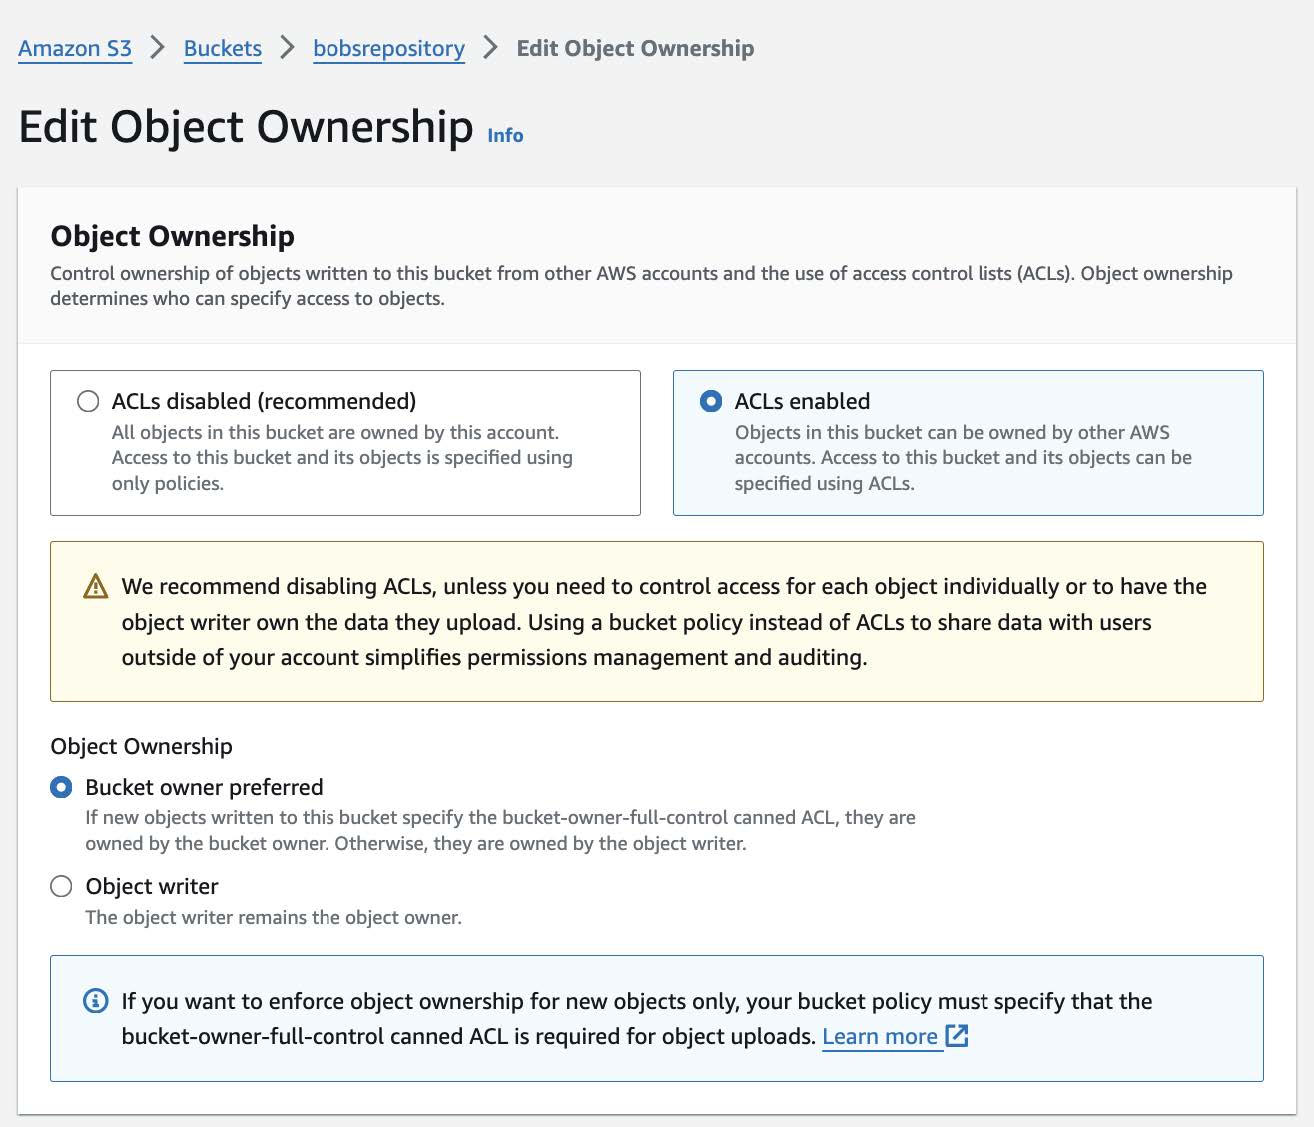
Enable ACLs Under Object Ownership🔗
Though Amazon generally recommends using a bucket policy instead, our current process requires that ACLs enabled be checked under Object Ownership:
Update ACL Permissions🔗
While AWS buckets are publicly accessible and can be downloaded using Cyberduck or a web browser (if the index.html file is properly configured), individual file permissions may still prevent users from accessing the repository.
To update Access Control Lists (ACLs) and allow external users to download data:
- Go to Permissions tab
- Scroll down to Access control list (ACL)
- Click Edit and check the List and Read boxes for:
- Authenticated users groups (anyone with an AWS account)
- (Optional) Everyone (public access) if broader access is desired.
- Check I understand the effects of these changes on my objects and buckets
- Click Save changes.
Tracking Repository Usage🔗
See Server Access Logging for details on tracking the number of repository downloads.
Additional Resources🔗
AWS Onboarding Handbook for Data Providers
AWS Samples
Youtube tutorial: adding your data to Registry of Open Data on AWS